
If you want to keep track of your Spotify streaming stats or you’re an artist that wants to see your detailed Spotify streaming numbers, I’ll show you the top tools you can start using today.
This article is a comprehensive guide on Spotify stream trackers & analytics, so we’ll be covering the top methods to use if you are a listener as well as if you are an actual artist that has music on Spotify.
There’s a lot to cover, so let’s jump right into this, my friend… 😊
How To See How Many Streams Your Song Has
As an artist on Spotify, it is incredibly important to track your streams using a Spotify stream tracker to make sure you are growing your Spotify stats on a regular basis.
I’ve shown how easy it is for artists to check Spotify streams by using the Spotify For Artists dashboard to see their music’s streaming stats sorted by time period, location, and even by playlist:
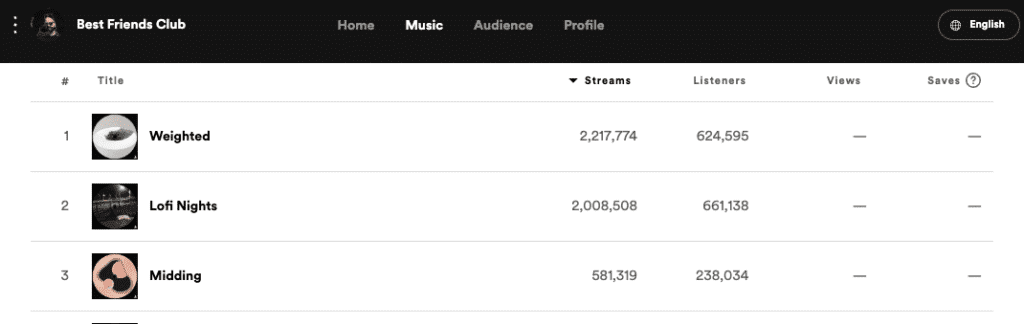
The main issue with the Spotify For Artists dashboard is that you can’t see your song stats on a specific day and that it does not calculate the important metrics that the Spotify algorithm is looking at when deciding what songs to push.
What Spotify Stats You Should Track As An Artist
This is why you should also be tracking your music’s Save Rate (how many of your listeners are actually saving your song) and Listen Rate (the average amount of times your song’s listeners are listening to your song).
If the Spotify algorithm notices that ANY song is being saved by the people who listen to it at a good percentage (40% or higher), is being listened to often (1.8 times on average or higher), and is being added to lots of normal listener and higher profile playlists, it is in Spotify’s best interests to push that song out to similar people.
If you can get the Spotify algorithm to work for you in this way, the increase in positive numbers overall will also inevitably catch the attention of Spotify editors, which may lead to lucrative Editorial playlists in the future.
How To Track Your Spotify Stats As An Artist
The best way to track all of the Spotify stats you need to make sure your streaming numbers keep growing is by creating a simple Spotify Streams Tracker using Google Sheets.
By manually filling in your Spotify stream data every day for 3 – 4 weeks you can monitor how likely you are to trigger the Spotify algorithm and have a better idea of what music marketing or promotion is and isn’t working.
Next, we’ll take a look at how to track your Spotify stats as a listener…
P.S. If you’d like to learn how to fill out the Spotify stream tracker template I’m giving away, keep reading this article for a tutorial/walkthrough. 😊
How To See Your Personal Spotify Listens, Streams & Stats
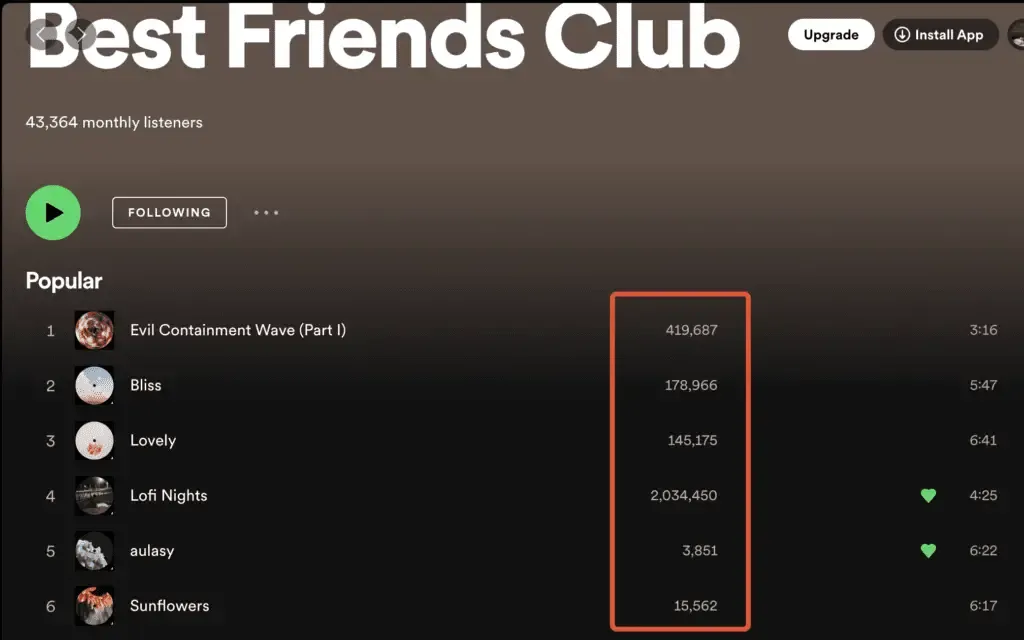
I’ve previously shown how easy it is for listeners to check Spotify streams by visiting the artist’s Spotify profile and checking the songs listed under the “Popular” section:
However…
To track your personal Spotify analytics, stats, and streams you need to connect a free app called Last FM to your Spotify account.
Once connected, you will be able to track what you stream on the Spotify app, web player and any Spotify-connected device.
Last.FM – Free Spotify Streams Tracker
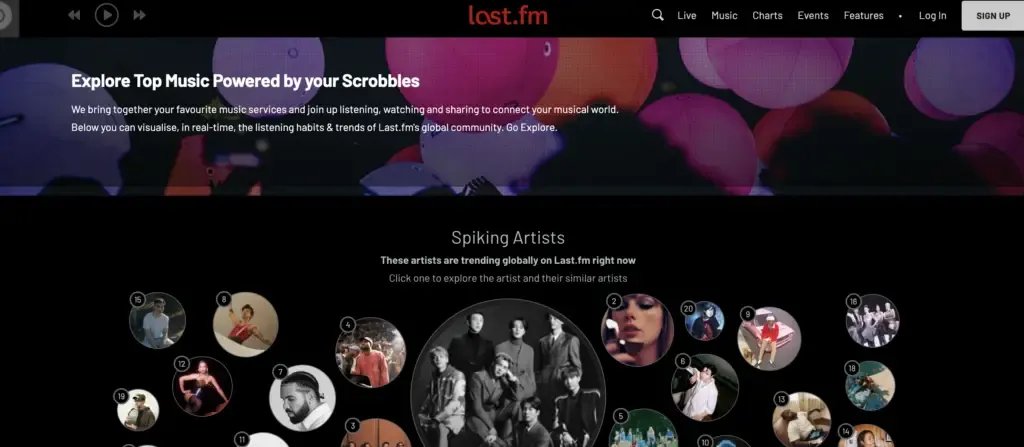
Last FM is an app that you can connect to mobile and web apps like Spotify, YouTube, and SoundCloud to keep track of your listening stats and get recommendations for music you might like.
Once you connect Last FM, your listening activity is transferred to Last FM’s database so that they can present the data to you and use that data to provide song recommendations. Last FM refers to this transfer as “scrobbling”.
To get started all you need to do is join Last FM and then connect it to your Spotify account.
One thing that you should be aware of is that Last FM unfortunately does not work retroactively, this means it won’t track your listening history and instead can only track your listening activity while the app is connected and Spotify Scrobbling is enabled (how to do this just below).
With that said, Last FM may be able to streams from Spotify’s cache from the last week. It’s not the greatest scenario but at least you can get some of your listening history recorded.
How to connect Last FM to your Spotify account
To add Last FM to your Spotify account, simply follow these steps:
- Go to Last.fm
- Log in to your account
- Find your profile image (usually top-right) and hover over it
- Click on ‘Settings’
- Click on ‘Applications’
- Choose the ‘Connect’ option next to ‘Spotify Scrobbling’
How to disconnect Last FM to your Spotify account
If you would like to remove Last FM from your Spotify account, simply follow these steps:
- Go to Last.fm
- Log in to your account
- Find your profile image (usually top-right) and hover over it
- Click on ‘Settings’
- Click on ‘Applications’
- Choose the ‘Disconnect’ option next to ‘Spotify Scrobbling’
Once you have completed the above steps, Last FM will no longer be tracking your Spotify activity, but you may also want to completely remove Last FM’s access to your Spotify account by removing access to their app in your Spotify settings.
To remove access to the Last FM app in your Spotify settings, simply follow these steps:
- Log in to your Spotify apps page.
- Click on ‘Remove Access’ on the Last FM app
You can also visit the above Spotify apps page to see what apps have access to your Spotify account at any time.
Alternatives For Personal Spotify Listening Stats
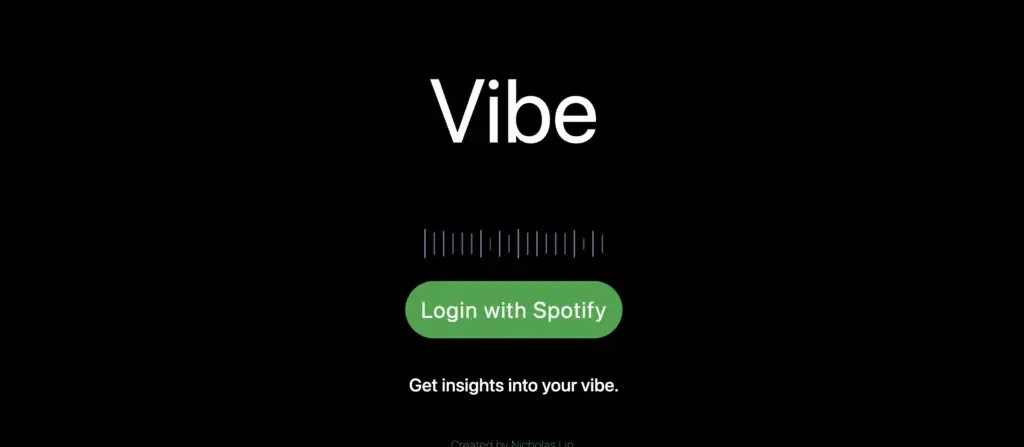
Vibe is a website that analyzes your listening habits on Spotify to give you insights into what your music library says about you and how your listening habits change over time.
One cool thing about Vibe is that is uses the Spotify API to analyze your songs so that you can find out what your “vibe” is when it comes to the music you listen to.
Here’s a look at how it analyzed my personal music library:
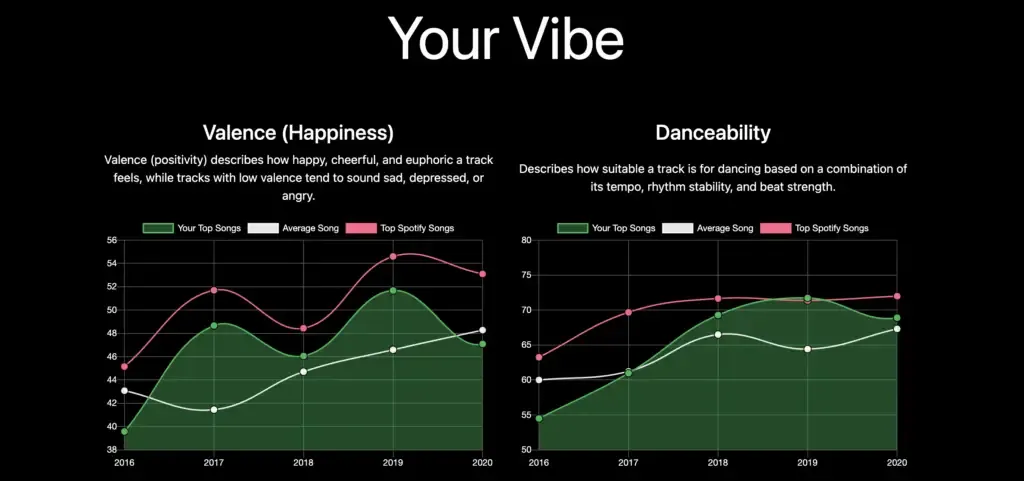
There are a lot of cool charts, graphs, and data to look into when you use Vibe which is pretty neat and definitely worth checking out.
Here is a look at what info you agree to share with Vibe when you connect your Spotify with them:
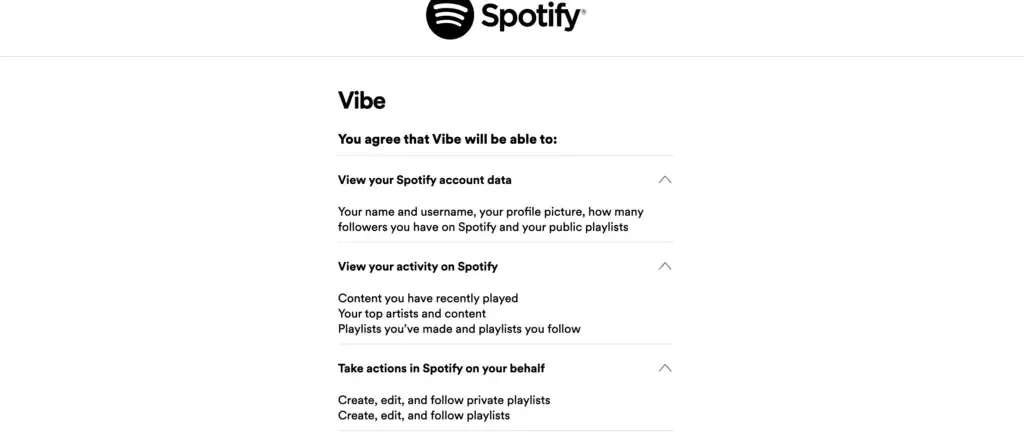
Just like with “Stats For Spotify”, I find it a bit sketchy that they want to be able to create, edit and follow playlists on your behalf considering the fact that you can’t use the Vibe website to create websites.
Be careful about that one when signing up but other than that, Vibe looks really cool to check out as a Spotify listener who wants to learn more about themselves and their music. 🙂
How To Fill Out Your DIY Spotify Streams Tracker
Let’s take a look at how you can build out your own tracker and fill in the data with your own music’s stats…
Section 1 – The Basics
The first section of the Spotify tracker covers the basics of your release.
Column A – has the lowest possible pay rate Spotify can give per stream to help track how much money you can expect from your release. You can change this to a higher pay rate if you would like to be less conservative.
The very top row is also used to total up your streams, marketing spend, revenue, and followers for your release period.
Column B represents the number of days your song has been released with the release day being Day 1. Column C shows you the actual date and should be modified by you to represent the actual dates of your release.
You should also take the time to highlight each Friday of your release period, as this is when Release Radar playlists get pushed out.
You will want to watch your streams on these Fridays are the main chance you have to trigger the Spotify algorithm and seriously boost your numbers.
Finally, Column D is where you can put in any ad spend or marketing spend for the day, and Column E will automatically multiply the number of streams for the day against the Spotify pay rate in Column A to give you the song’s revenue for the day.
Section 2 – Streaming numbers
Section 2 is where you will input your streaming numbers for the day. Each day you will need to type in the number of streams your song got for the day into Column F.
From there, the tracker will:
- Automatically tally up the total number of streams for your release
- Add up how many streams are coming directly from your profile
- Tell you how much each stream is costing you if you are spending money on marketing.
Section 3 – Facebook/Instagram Ads
Section 3 is all about tracking Facebook and Instagram advertising stats for your release.
Tip: If you are not using Facebook/Instagram ads to promote your release, you can skip this section and even hide it in the tracker by select the columns by clicking on “J”, pressing Shift on your keyboard, clicking on “O”, right-clicking with your mouse and then selecting “Hide columns J to O”.
If you are using Facebook/Instagram ads, input how many people are clicking the Spotify button on your landing page (also called a ViewContent) into Column J.
Then input how many people are visiting your landing page into Column L and how many people are clicking your ad into Column N.
From there, the tracker will calculate the percentage of people that are moving from each step in your marketing funnel from the click to the landing page to your Spotify profile.
This way you can keep track of how effective your ads are and whether or not people are actually clicking through all the way to do the thing you want them to do: streaming your actual dang song.
Section 4 – Algorithm stats
This section is the most important because it helps you calculate some of the stats that the Spotify algorithm is looking at when deciding what song to push or not.
Each day you will need to input how many listeners your song has into Column P, how many saves it got in Column B, and how many playlists the song has been added to into Column T.
You can find your song’s listeners and saves in the ‘Music’ tab in Spotify For Artists and the number of playlists in the ‘Playlists’ tab after clicking on your song.
From there, the tracker will calculate the Save Rate and Listen Rate for you.
Save Rate – How many of your listeners are actually saving your song.
Listen Rate – How many times (on average) your listeners are listening to your song.
Important: What you need to watch for:
When you are first starting out, a Save Rate of 40% or higher is likely to trigger the algorithm when combined with a Listen Rate of 1.8 or higher and a decent amount of total streams for your song (400+).
If you are seeing these numbers, watch carefully on the upcoming Friday as you have a high potential of triggering the Spotify algorithm and getting pushed into the Release Radar playlists of users that DON’T follow your profile! 🙂
Section 5 – Source of Streams
This section is how you can keep track of where your streams are coming from AKA your source of streams.
Simply fill in the percentages for Profile, Playlists, Editorial, and Algorithmic sources and the tracker will calculate the remaining Other sources.
You can find these numbers by clicking into your song in the Spotify For Artists dashboard and scrolling down past the streams graph/chart:
Section 6 – Followers and notes
The last section is for keeping track of how your Spotify followers are growing each day for your release.
Remember: The Spotify algorithm is also watching to see how many followers you gain during a release as this is an indicator for it that your song is worth pushing out.
To fill this out, simply type the number of followers you have each day into Column Z and the tracker will calculate how many followers you’ve gained for the day and how much each follower cost if you are spending money on marketing.
You can find your follower count by visiting the ‘Audience’ tab in the Spotify For Artists dashboard and clicking on ‘Followers’:
Lastly, you can input any notes into the Notes section to keep track of any changes you make to your Spotify music marketing and release strategy so you know what is working and what is not.

